
Chapter 11
Field: observations from the ground
An indication detected from the satellite is confirmed or ruled out by looking at the site. Tesela offers two ways to record and consult what a field team sees: the “Tesela Field” mobile app (Android), designed to work in the field even without a connection, and the “Field” tool in the viewer, for consulting records on the map and, with permission, creating and correcting them.
Each observation is a record of what was observed at the site and requires verification. It is not a determination about the cause or legality of what was recorded.
Part 1. The “Tesela Field” app
Signing in
Open the app, enter your email address and your Tesela password and tap “Sign in”. The first time you need a connection; afterwards you can work without one until the session expires (“Settings” shows how much time is left). Your account must have field permissions: if you see “This account has no field permissions”, ask the administrator for them.
Recording an observation
- On the “Record” tab, choose the “Record type”: “Inspection point”, “Alteration observation”, “Access observation” or “Other”.
- Enter a “Title” (optional, up to 120 characters) so you can recognize the record later.
- Enter the “Description” of what was observed, up to 2,000 characters. Limit yourself to what you see: it is an observation that requires verification.
- Check the “Location”. The app takes the GPS and shows the estimated accuracy (for example, “±4 m”) and the signal quality. With “Refresh GPS” you measure again. If GPS is not available, you can enter latitude and longitude by hand.
- Add evidence with “Take photo”, “Record video” or “Gallery”. JPEG, PNG, HEIC, MP4 and QuickTime are accepted; up to 20 files per record, with a maximum of 25 MB per image and 300 MB per video.
- Optionally, link the record to a finding or detection in Tesela with “Tesela reference”.
- Tap “Save on device”. The record is stored on the phone and will be sent as soon as there is a connection.
It works offline and synchronizes
Everything is saved first on the phone, so you can record in areas without coverage. When there is a connection, the app sends the records in batches, in such a way that a retry does not duplicate anything. Photos and videos are uploaded in chunks: if the connection drops, the upload resumes from where it stopped instead of starting again. The server checks that each file arrived complete and that its content matches its type.
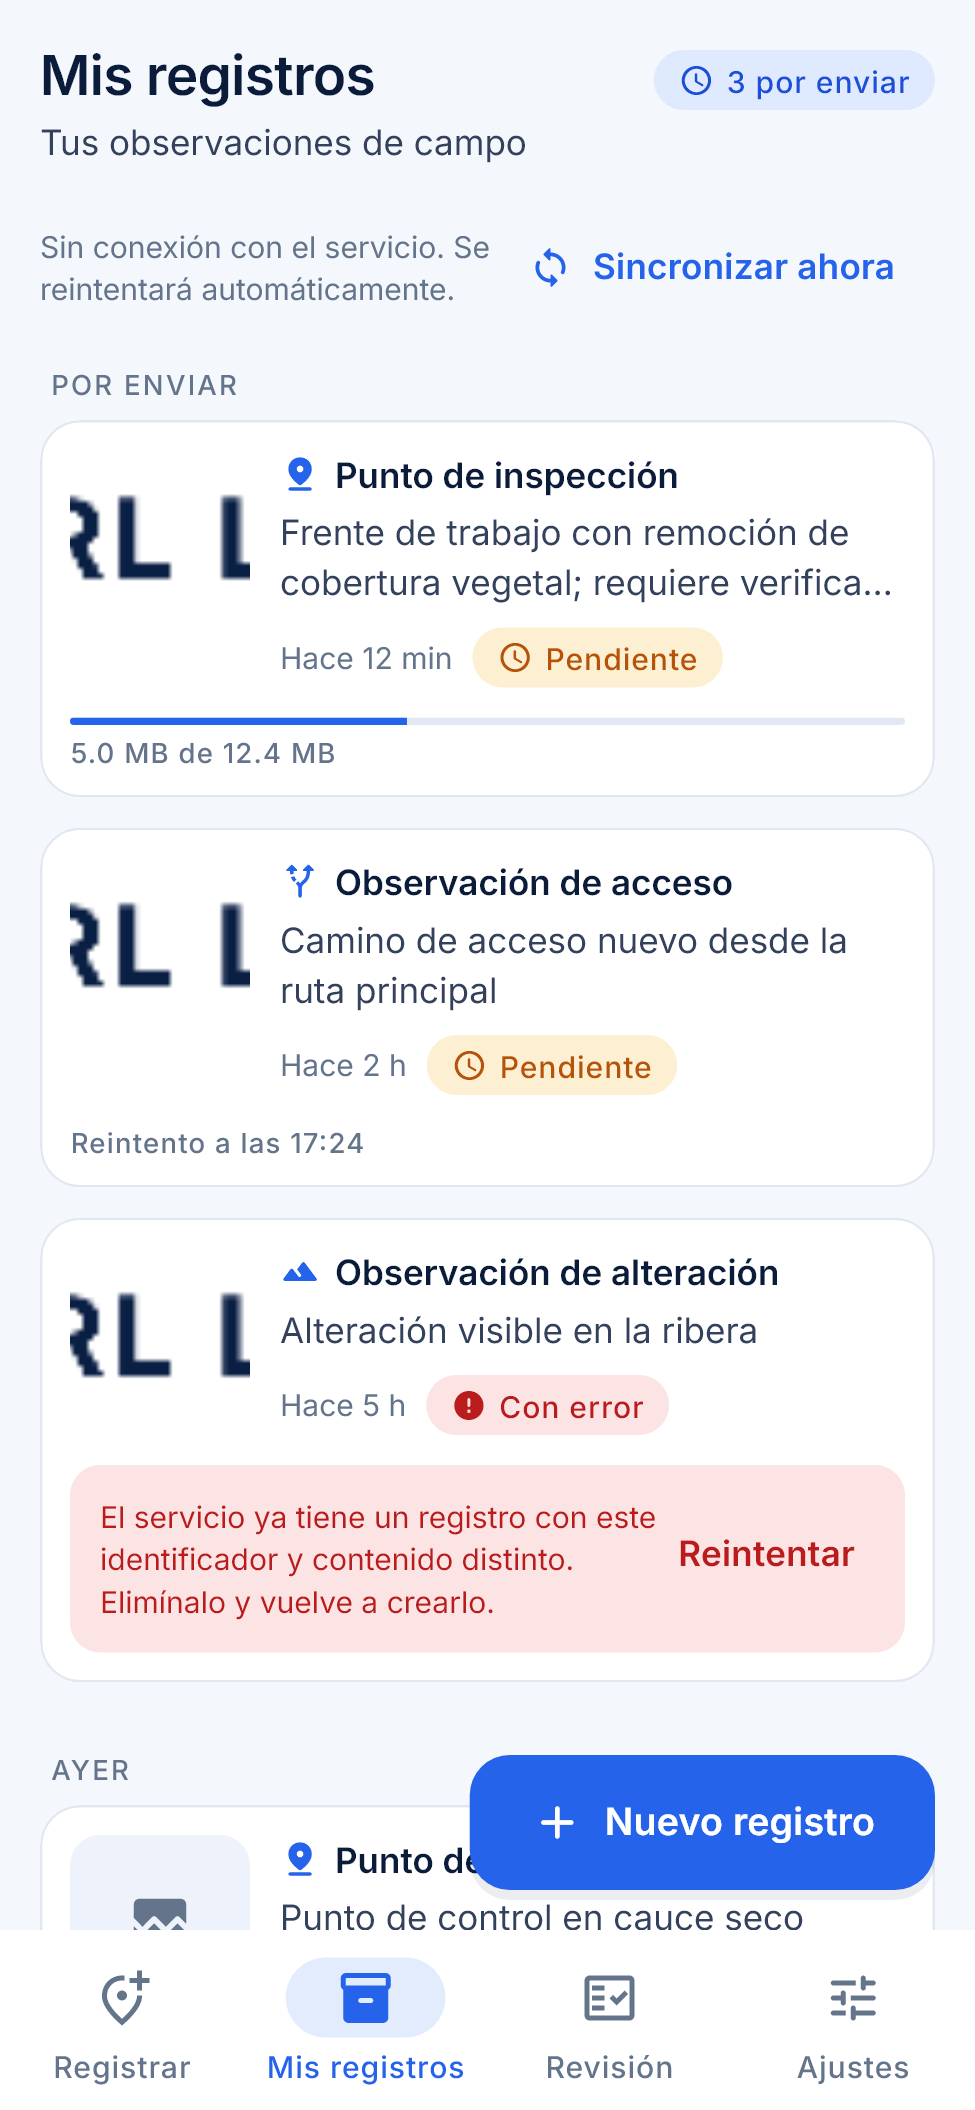
Under “My records” you see your observations grouped by date, with their status:
| Status | Meaning |
|---|---|
| Pending | Saved on the phone, waiting to be sent. It may show the time of the next retry. |
| Uploading | The evidence is being sent; progress is shown in megabytes. |
| Sent | Received by the service. |
| Failed | Sending stopped; the message explains why and you can use “Retry”. |
“Sync now” forces a send. If you open a record, “Record detail” shows the location, date, attachments and the synchronization stages (saved on the device, in the send queue, uploading evidence, received by the service).
Review, settings and language
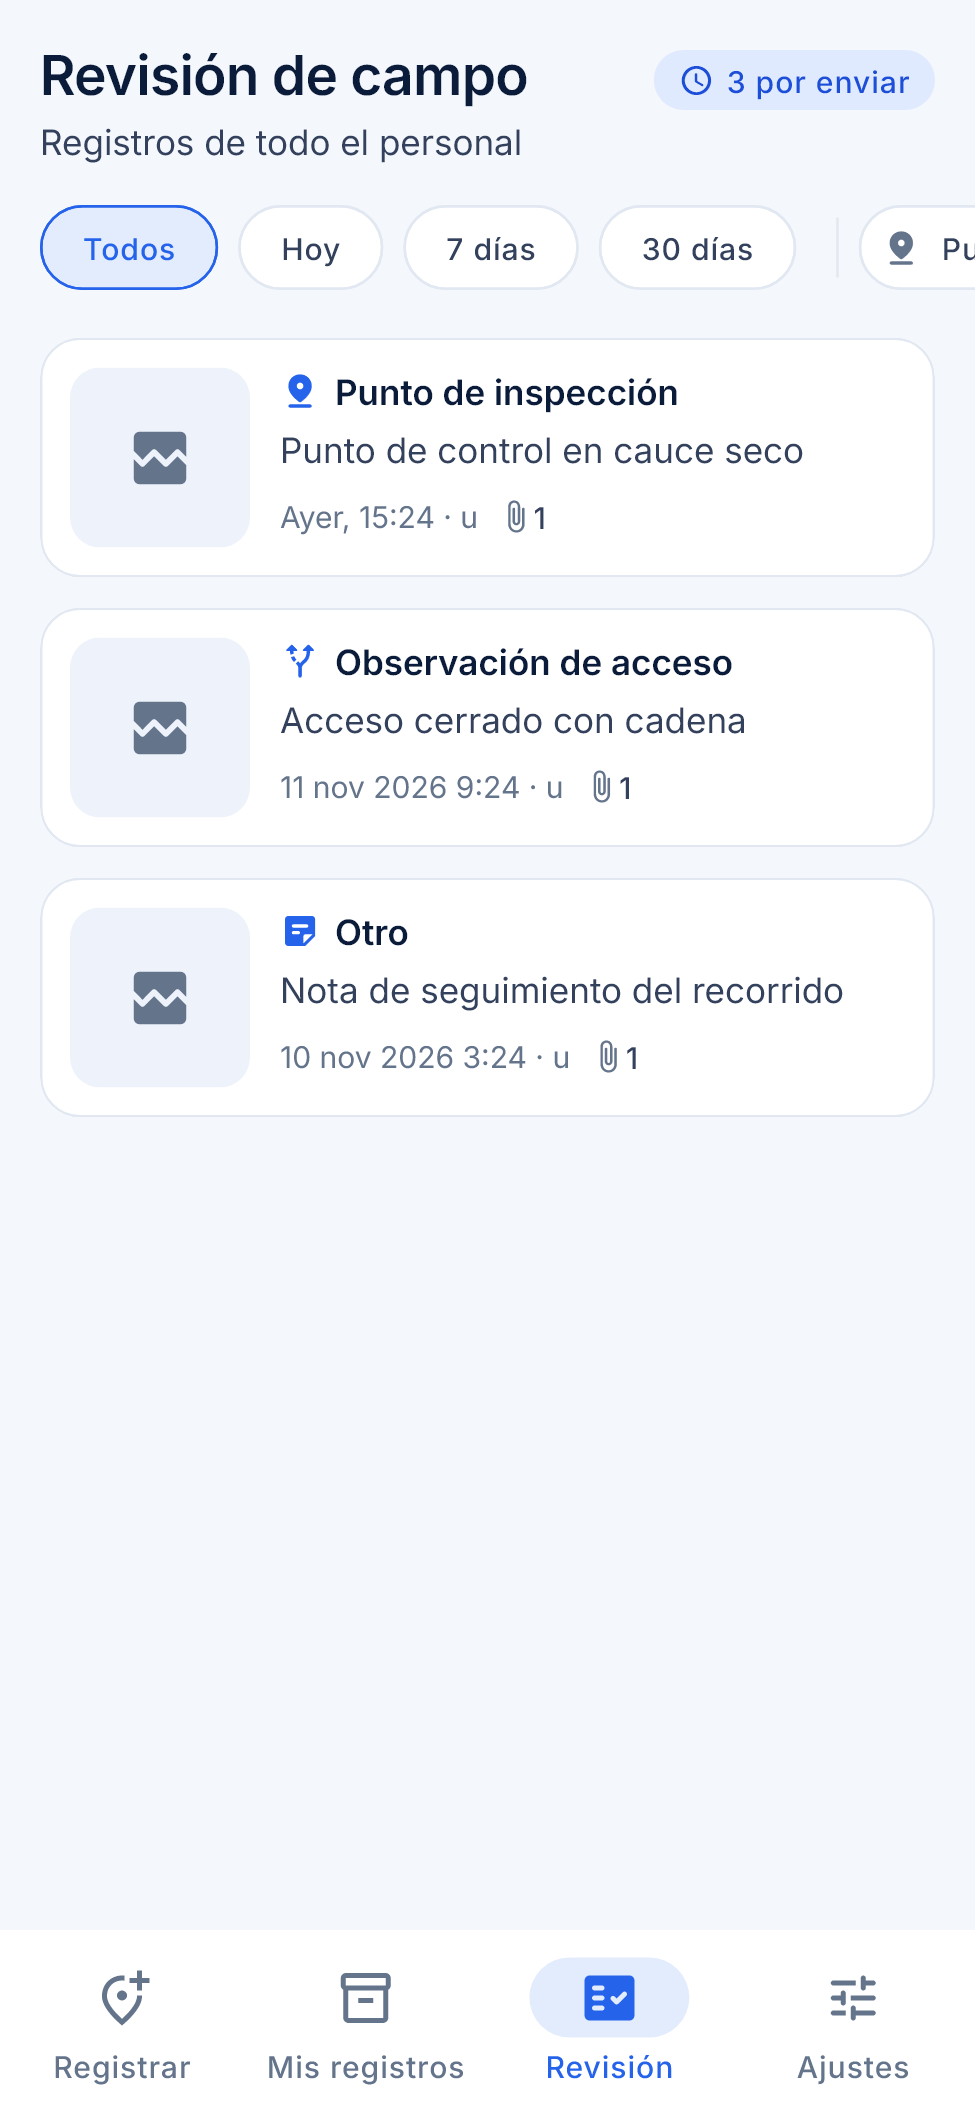
Anyone with the review permission sees the “Review” tab: the records of all staff, with filters by date (“Today”, “7 days”, “30 days”), type and author. Review needs a connection. Under “Settings” you choose the language (Spanish, English or Portuguese, or the system’s), the theme (system, light or dark), force synchronization and sign out.
Part 2. The “Field” tool in the viewer
In the viewer, the “Field” button (location icon) opens the “Field observations” panel. It appears only for those who have the permission to review field data.
- The list shows each observation with its type, who reported it, when it was captured and its location. “Show all on the map” draws the points, labeled.
- When you open an observation you see its sheet with the evidence (photos and video) and the reminder “This is a record of what was observed on site. It requires verification.”
New observation from the viewer
- Click “New observation” (you need the permission to record field data).
- Click on the map to choose the point. If you make a mistake, click again to move it.
- Choose the type (“Inspection point”, “Observed alteration”, “Observed access” or “Other”) and, if you wish, enter the title and the description.
- Under “Photos or videos”, attach the files: JPG, PNG, HEIC, MP4 or MOV, up to 20 files, with a maximum of 25 MB per photo and 300 MB per video.
- Click “Save observation”. The panel shows the upload progress of each file.
Editing and deleting
Anyone who reviews field data can click “Edit” to correct the type, the title and the description, and then “Save changes”. The location, the date and the files are not modified: they are the evidence.
“Delete” asks for confirmation (“The observation and its photos or videos will be deleted. This cannot be undone.”) and removes the observation together with its files.
Summary
- The “Tesela Field” app records type, optional title (120 characters), description (2,000), GPS location with accuracy, photos and video.
- It works offline and synchronizes in batches; file uploads resume in chunks.
- “My records” shows the status of each submission; “Review” is for those who supervise.
- In the viewer, “Field” lists, maps and shows the evidence; it allows creating, editing and deleting with the appropriate permissions.
- Every observation requires verification.