
Chapter 8
Historical imagery and layer comparison
To put a finding in context, it helps to see the same place at another point in time. The viewer offers two tools with a “swipe” (a vertical line that you drag across the map to reveal one side or the other): “Historical”, which compares the map on two dates, and “Compare”, which compares any two layers. Neither calculates anything new; they only show what already exists.
Historical imagery
“Historical” compares the imagery map in two different versions, based on the Esri Wayback archive. It is used to see how a place looked before and after, for example to contrast with a change analysis.
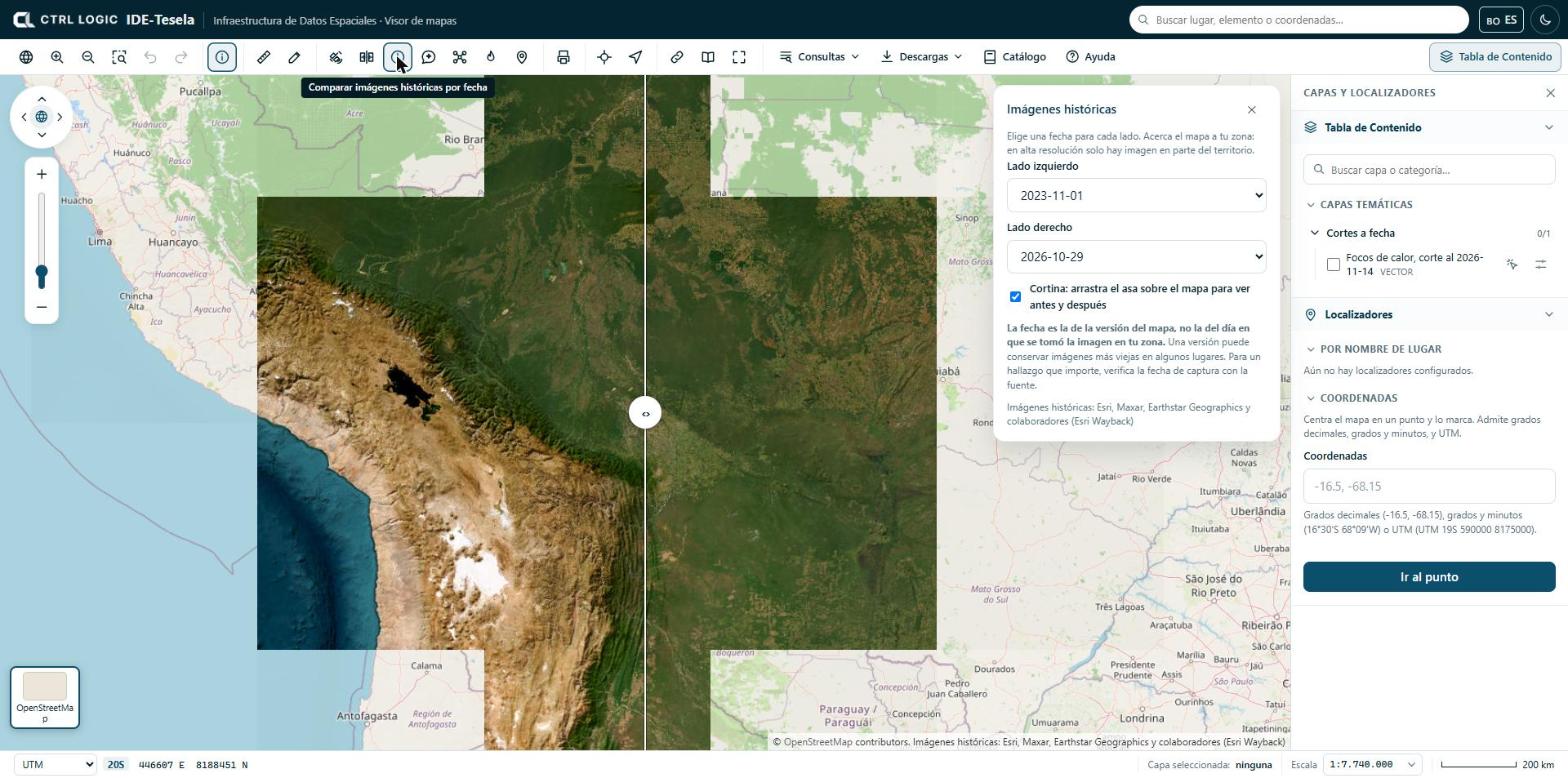
- Zoom the map to your area of interest. At high resolution there is imagery for only part of the territory.
- Click “Historical” on the toolbar.
- Wait for the available dates to load. If this fails, the panel asks you to try again in a few minutes.
- Choose a date for the “Left side” and another for the “Right side”.
- Leave the “Swipe” checkbox ticked and drag the handle (‹ ›) across the map to see the before and the after. You can also move the handle with the keyboard arrow keys when it is focused.
If you untick the swipe, only the date of the right side is shown.
The date is that of the map version, not the day on which the image was taken in your area. A version may retain older images in some places. For a finding that matters, verify the capture date with the source.
The attribution is: Esri, Maxar, Earthstar Geographics and contributors (Esri Wayback). It appears in the map footer while the tool is active.
Comparing two layers with a slider
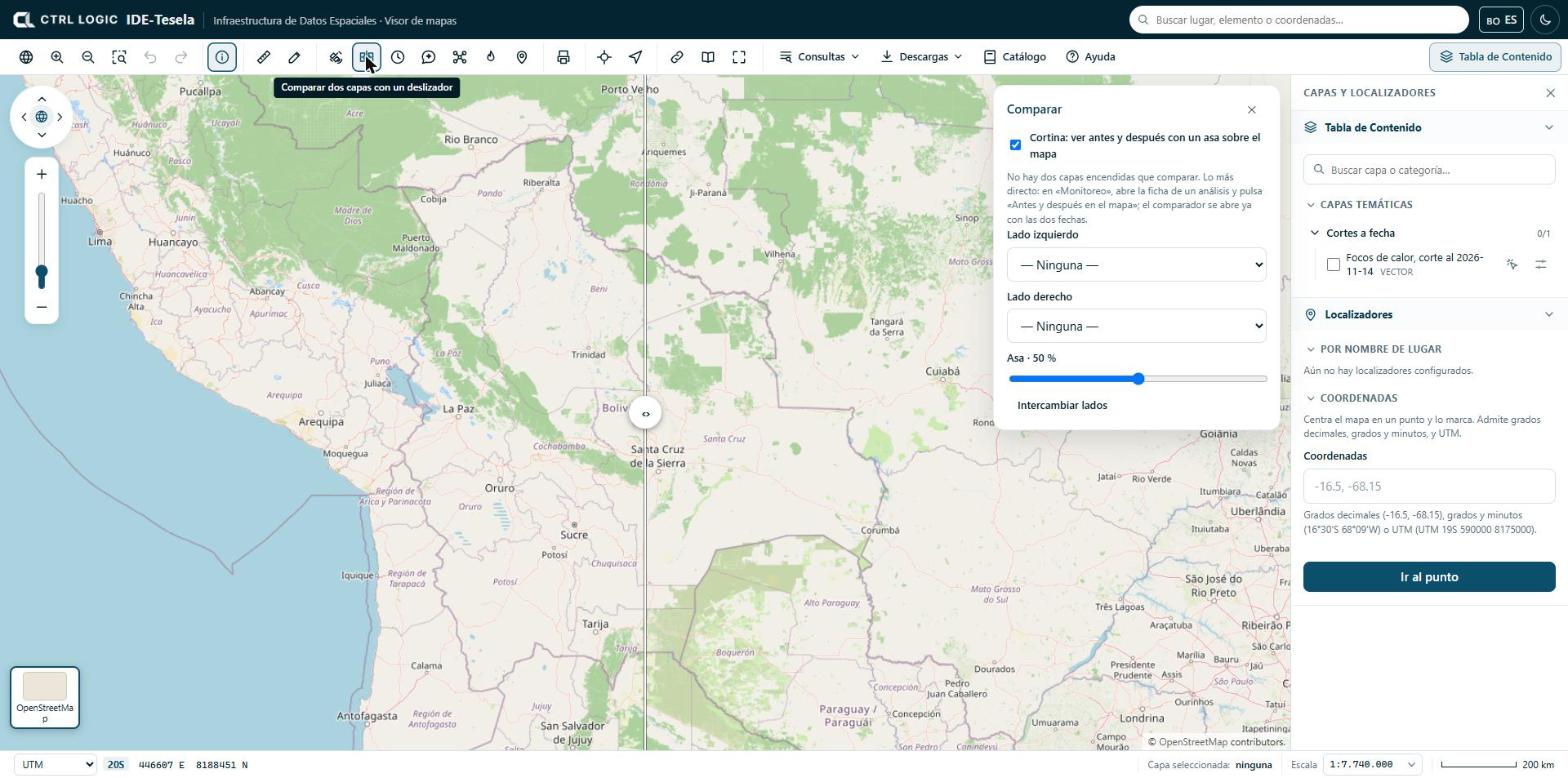
“Compare” places two layers that are switched on side by side with the same swipe. It is useful, for example, to compare the natural-color image of two periods, or a scene and a reference layer.
- In the Table of Contents, switch on the layers you want to compare.
- Click “Compare”. By default, the top two layers under “On the map” are compared.
- If you want others, choose them in “Left side” and “Right side”.
- Drag the handle across the map or move the “Handle” slider (it shows the percentage) to divide the space between both sides.
- Click “Swap sides” if you prefer to reverse which one goes on each side.
With the “Swipe” checkbox unticked, the layers are shown whole, with no cropping or handle. If two layers are not switched on, the panel tells you and suggests the following shortcut.
The shortcut: “Before and after on the map”
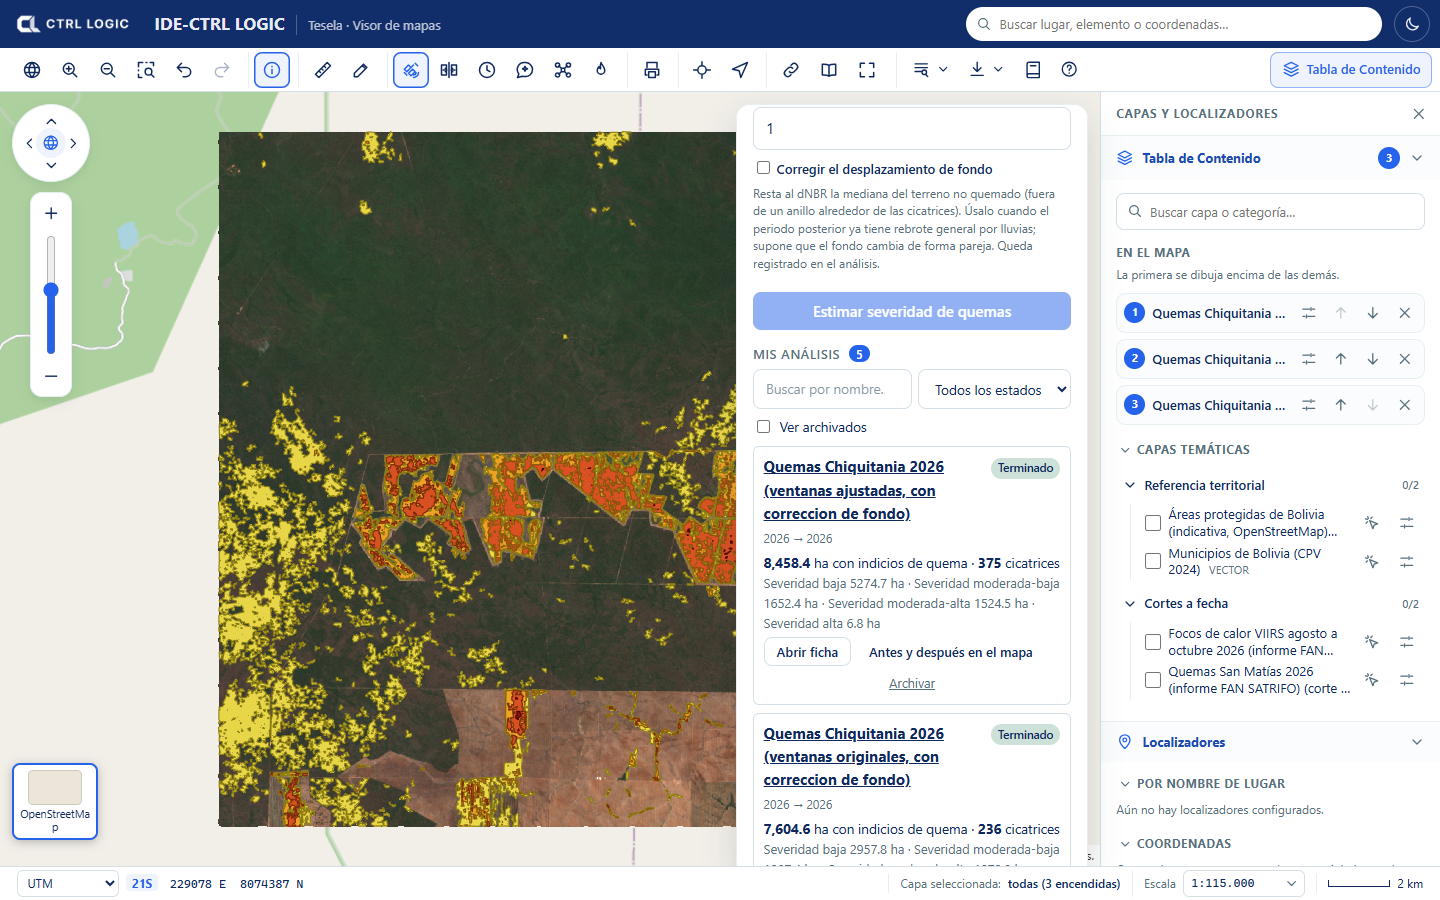
The most direct way to compare an analysis is to open its sheet from “Monitoring” and click “Before and after on the map”. The comparison tool opens with the two dates already loaded, without you having to switch anything on. In burn analyses, the equivalent is “Compare pre and post-fire”.
When to use each one
| I need to… | Use |
|---|---|
| See what a place looked like on another date, without running any analysis | “Historical” |
| Contrast the “before” and “after” periods of an analysis | “Before and after on the map” or “Compare” |
| Contrast any two layers, for example a scene and a reference map | “Compare” |
Limits
- “Historical” depends on Esri’s imagery archive: not every area has high-resolution imagery on every date.
- The dates in “Historical” are indicative (version date). They are not valid as the date of an event without verifying them with the source.
- The comparison tool is visual: the difference you see is an indication that requires verification, not a calculated result.
Summary
- “Historical” compares the imagery map on two dates with a swipe; the date is that of the map version, not that of the capture.
- “Compare” places two layers that are switched on on either side of a sliding handle.
- “Before and after on the map”, from an analysis sheet, opens the comparison tool already set up.
- What these tools show is visual context and requires verification.